How to install the integrated tri-proof light
Tri-proof lights are very common in our life. As a kind of tri-proof lights, integrated tri-proof lights are also widely used. Then do you know how to install the integrated tri-proof light? Below, the tri-proof light manufacturer will introduce the relevant content for you!
Open the package of the integrated tri-proof light, read the manual, and observe whether the accessories inside are complete. Connect with pure copper wire. The length of the bedroom is generally 30 cm, and the living room is 15 cm.
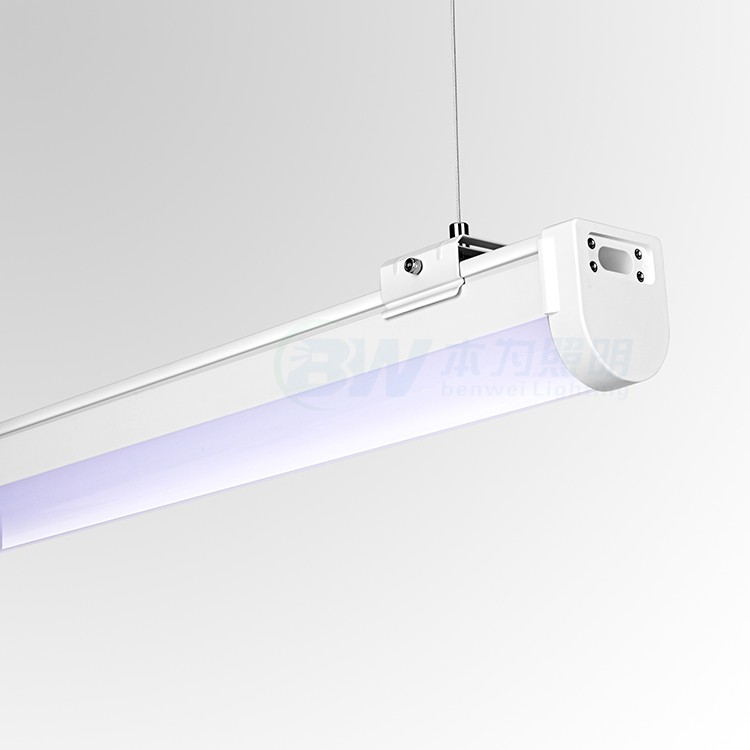
Integrated tri-proof light
1. Take the living room integrated tri-proof light without I-beam as an example: set up a ladder, remove the original light bulb and light panel, and put the wires into the box. Turn off the main switch first. Stand on the ladder, measure with a ruler, take the midpoint, and divide by 2 the total length of the cross section of the living room light. The midpoint data, minus the size of the cross section divided by 2, is the edge of the lamp, and then according to this size, use a pencil to mark the size of the three points, which is the top position of the lamp. Note that the front and rear points are parallel, and the middle point is the center of the light and position. Then two people go up, aim at the three dots on one side of the lamp, and lean on it. Then mark with a pencil according to the eye inside the socket and remove the socket. Turn on the power, install the socket rod, drill the holes with a hammer drill, and install the expansion tube. Cut off the power, connect the power, wrap the tape around the broken head. Turn the power on, switch it on, and try to see if the lighting works. If it is normal, continue to the next step to install. Two people went up, one supported and the other fastened with quick screws. After the shelf is fixed, install the mask and place the pendant. Special instructions: Some pendants need to be installed in advance, and some pendants can only be installed after the panel is fixed, so they should be installed in different orders according to different situations. The installation principle of the integrated three-proof lamps is the same, but the order of the pendants is not necessarily the same. After the installation is complete, turn on the power, turn on the switch, and the work can be successfully completed.
2. If it is an integrated tri-proof light with an I-shaped frame, then we just need to hold it, then draw the I-shaped frame alone, then draw a pencil line in the eye of the I-shaped frame, remove the shelf, and use an impact drill Punch holes, install from the top of the living room, unfold the tubes, and fasten the shelves with quick screws. The subsequent installation is the same as above.
3. Integrated tri-proof downlight installation: cut off the power supply, take out the sheath wire in the hole, open the wire, grab the two wires and wires of the downlight, and wrap it with tape. There are two cards on both sides of the downlight, do not push the cards inside. Install the downlight, just how to connect the two wires, but one thing must be remembered, the all-in-one tri-proof light downlight can be turned on after pressing down, otherwise the color of the multi-color light will be inconsistent, which is very troublesome thing, we must pay attention to this.
The above is the installation method of the integrated tri-proof light. I believe that through the description of this article, you can gain something. I hope the above content can help everyone. In addition, if you want to know more relevant information, you can pay more attention to our website dynamics.