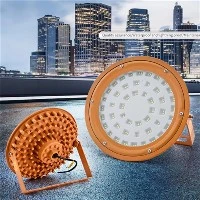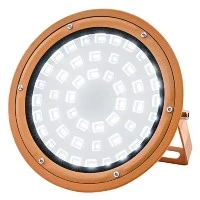

1. Fix the components of each part: fix the solar plate on the solar plate support, fix the lamp cap on the cantilever, then fix the support and cantilever to the main rod, and thread the connecting wire to the control box (battery box).
2. Before lifting the lamp pole, first check whether the fasteners at all parts are firm, whether the lamp cap is installed correctly and whether the light source works normally. Then check whether the simple debugging system works normally; Loosen the connecting wire of the sun plate on the controller, and the light source works; Connect the connecting line of the solar panel and turn off the light; At the same time, carefully observe the changes of each indicator on the controller; Only when everything is normal can it be lifted and installed.
3. Pay attention to safety precautions when lifting the main light pole; The screws are absolutely fastened. If there is a deviation in the sunrise angle of the component, the sunrise direction of the upper end needs to be adjusted to fully face due south.
4. Put the battery into the battery box and connect the connecting wire to the controller according to the technical requirements; Connect the battery first, then the load, and then the sun plate; During wiring operation, it must be noted that all wiring and the wiring terminals marked on the controller cannot be connected wrongly, and the positive and negative polarity cannot collide or be connected reversely; Otherwise, the controller will be damaged.
5.Whether the commissioning system works normally; Loosen the connecting wire of the sun plate on the controller, and the light is on; At the same time, connect the connecting line of the sun plate and turn off the light; Then carefully observe the changes of each indicator on the controller; If everything is normal, the control box can be sealed.