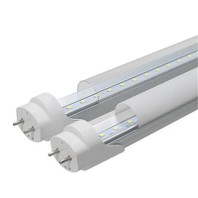
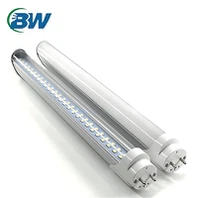
The kind of fixture you're replacing and your level of electrical skill will determine how easy it is to install an LED batten. Here is a brief summary of the procedure and typical outcomes:
🛠️ Basic Guide to Installation Steps
Turn Off Power: To prevent shocks, turn off the circuit breaker.
Remove the old fixture (if replacing it) and unplug the old fluorescent light's cables.
Install the LED battery.
Certain types retrofit (clip onto existing fluorescent fittings).
Others need to be screwed directly into the wall or ceiling.
Connect It Up
Earth (green/yellow), Neutral (blue), and Live (brown) Complement colours or adhere to directions.
A hanging cable connection is all that is required for many plug-and-play versions.
Secure & Test: Restart the power and see whether it works.
The Simple Parts
✔ When swapping out a fluorescent bulb, many LED battens are compatible with the same housing; just avoid the ballast.
✔ Lightweight: Simple to manage on your own.
✔ LEDs need no ballast since they operate on direct mains power, which simplifies wiring.
Possible Difficulties
if there isn't an existing fixture, hardwiring from scratch.
Material of ceiling (wood mounting against concrete).
achieving the proper spacing (for several battens).
10 to 20 minutes are needed if an old fluorescent is being replaced.
30 to 60 minutes (if wiring is being installed from scratch).
Electrician or do-it-yourself?
DIY-friendly if you know how to do simple wiring.
If you're not familiar with circuits or high ceilings, get an expert.
https://www.benweilight.com/linear-lighting/led-batten-light/led-garage-lights.html