Step 1- Disconnect the Adapter Plate and the Rubber Gasket.

The adapter plate and rubber gasket should be removed from the bracket first.
Step 2- Fix to the Pole Bracket (Square/Round)
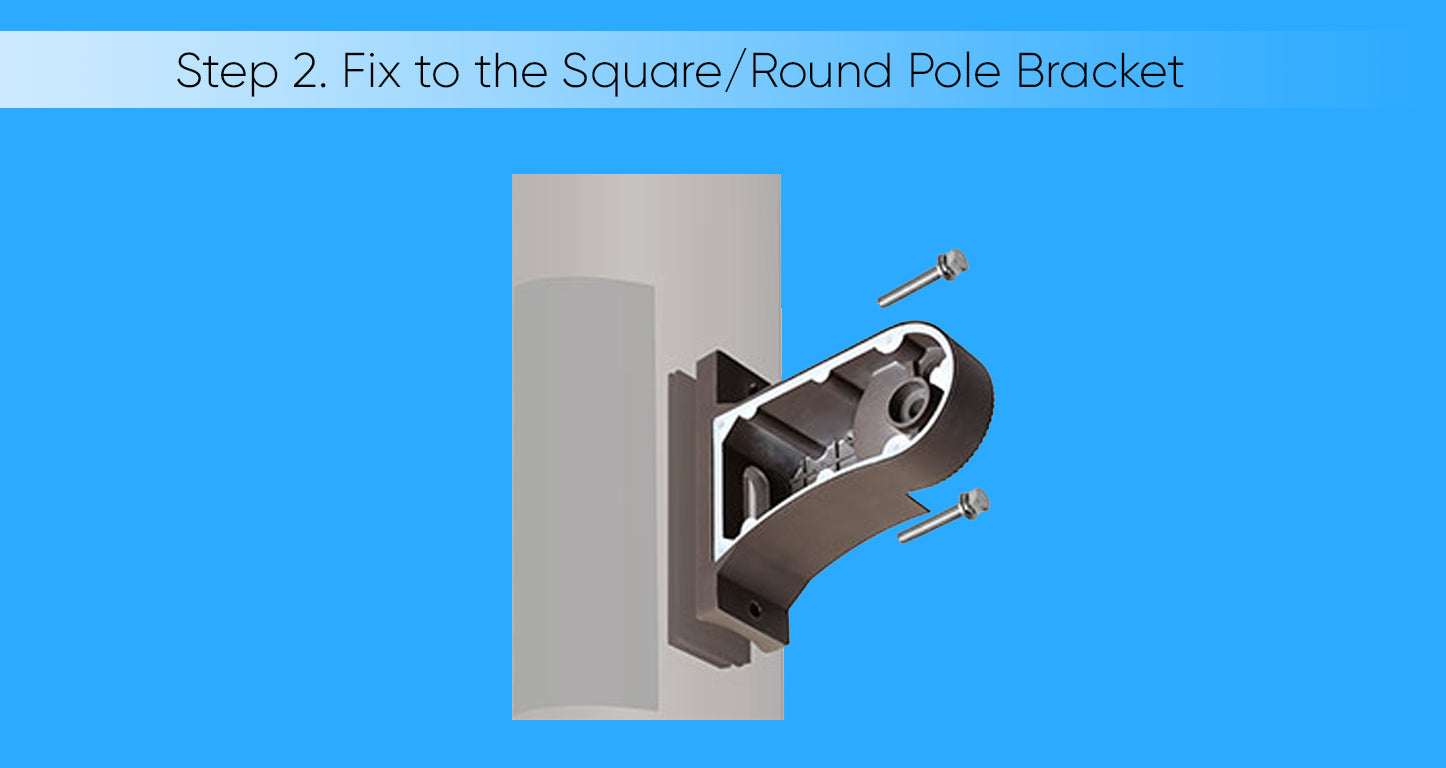
Please double-check that the square pole or fixture surface has the same mounting holes as the square pole or fixture. After that, place the square/round pole bracket against the fixture surface and place the rubber gasket between the square/round pole bracket and the appropriate fixture surface, then bolt the square/round pole bracket to the square pole.
If required, attach the bolster plate to the square pole's inside surface, then tighten the bolster plate with the bolt.
Step 3- Wiring

Shield the wire by pushing it through the hole and into the square/round pole bracket. Attach the power wire to the pole wire, then use a bolt to secure the rubber gasket and junction box cover.
Step 4- Secure with a bolt

Tighten the bolt after adjusting the lamp body to the desired angle. You have now completed the installation of the LED parking lot light.