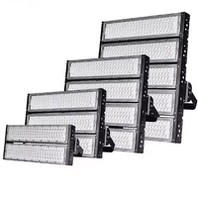
How can I photograph products with LED lighting?

The best lighting for your photos may be achieved by adjusting the product photography lighting in a studio or particular area. Disconnect the above lights completely. As far as possible, conceal any sources of natural light. And focus your only source of light on your product arrangement. Here are two suggestions for setting up a single light for product photography.
Putting the light in place
You may control the light when you have a certain photographic lighting setup by placing (the angle from which the light is coming) and diffusing it (how harsh or soft the light is).
For flat shots, position the light over the subject.
To create depth, place the lights at a 45-degree angle above and to the side. This results in uniform illumination over the item, lovely depth, and intriguing shadows.
For dramatic shadows, place the light near to the side of the product scene. This amplifies the colors and creates long, dramatic shadows.
spreading out the light
You may diffuse (or not diffuse) your light to get different results. Compared to a naked bulb, a light diffuser softens the light significantly. Without any filtration, the light is strong, brilliant, and sometimes unpleasant.
Diffusers come in many different varieties. For product photography, a massive dome diffuser (a wide fabric dome over the light) creates soft LED lighting, although it could be too much for a tiny space. You may also shoot the light via a straightforward light modifier panel. Additionally, it will disperse the light without taking up a lot of space. Diffusers with a rectangular or octagonal shape are other options.