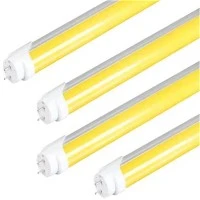

To make sure everything is done properly, there are a few things you must do if you want to install batten lights on the surface. You may accomplish a safe and efficient installation that looks professional by following these instructions.
First, measure and mark
Mark the locations where you want your lights to go and take some measurements before you begin putting your batten lights. Mark the locations of your lights on the surface where you want to attach them using a pencil and tape measure. This will assist you in making sure that your lights are exactly and uniformly placed.
Step 2: Mounting Bracket Installation
It's time to attach the mounting brackets after marking out the locations of your lights. To make sure your brackets are straight, make sure you use a level. Additionally, you should use screws long enough to keep the brackets firmly in place.
Install the wiring in step three.
Once the mounting brackets are in place, you can begin wiring your batten lights. Make sure you wire your lights according to the manufacturer's directions. A wiring schematic is often included with batten lights, so take your time and carefully follow the directions. Additionally, make sure the electrical connections are tight and secure and that the cable is the appropriate size.
Attach the light fixtures in step four.
Your batten light fixtures may now be attached to the brackets after the wiring is in position and secure. Depending on the kind of fixture you're using, this step may differ, so be sure to consult the manufacturer's instructions.
Step 5: Turn the lights on.
After attaching the light fixtures, test the lights by turning on your electrical source. Make sure you test each light separately to make sure everything is operating as it should.
In conclusion, you can guarantee the proper and secure installation of your surface mounted batten lights by according to these easy instructions. For optimal results, take your time and adhere to the manufacturer's recommendations.